
I'm back today to talk about the DIY's I did in the master bath between the tile being installed and the plumber coming back. When my tile guy finished, my work began. Everything felt like a domino for the next thing. I needed to install the vanity before the plumbers came back (or so I thought). But before that, I needed to install the vertical paneling, but before that I needed to close up the giant hole in the wall and remove the crown molding. I also needed to change out the almond colored light switches and outlets, and paint all the walls, trim, and windows.
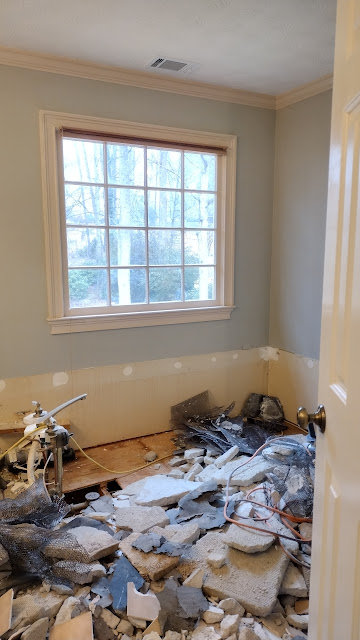
Here I did rough drywall repair over where the pipes were moved into the wall, to add backing for the vertical paneling.


Read More

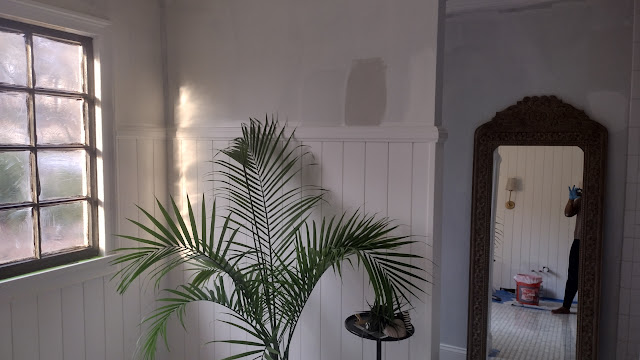
In planning this project, I had planned to install vertical paneling on *just* the vanity wall to add interest. I even got a quote for having it done because I wasn't sure about taking the crown molding off it install it. However after the bathroom was demo-ed, there were holes all over three walls, from taking out the vanity and the cultured marble tub, and from moving the lights and outlets.

They were so large that I would need to hire someone to professionally patch them. But the way my brain works, I figured by the time I paid someone to do that, I would be better off spending that money to buy materials for vertical paneling on those same walls.

It was totally exhausting, but totally worth it, now that I have recovered! On this project, I wasn't sure how to remove crown moulding, and I wasn't sure how to cut the angles for reinstalling them. But one day, I just went for it, and they came down pretty easily! And it turned out they all had a 'coped' edge on one end and a 'butted' edge on the other. So I only needed to figure out the angle on one piece for reinstalling them. It's not perfect, but in hindsight, I wouldn't let that imperfection stop me from trying. At one point, I was so exhausted working on this project that my motto became 'done is better than perfect'. Either way let me show you how it progressed.


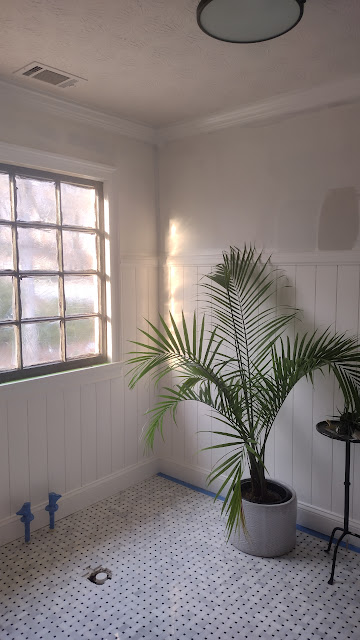
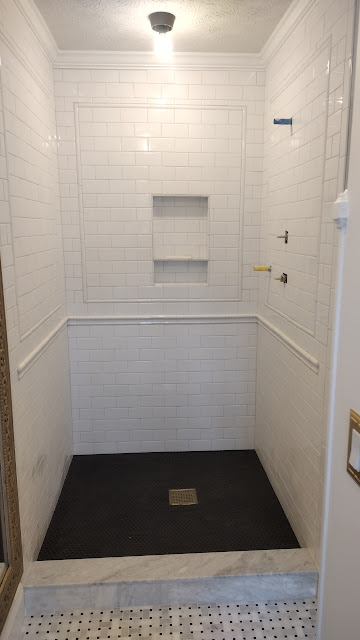
Trim work is all about closing gaps. You can close a gap and it can look sloppy....but, ummm, no. The key is to close the gap and make it look seamless. There's so many different varieties of trim and it's a bit of trial and error to find what trim combos and cuts work to create that seamless aesthetic. I used a mix of cuts, plus outside corner trim, cove molding, shelf molding, and CAULK(!!!) to close the gaps. And I am quite proud of the results for a first time installing vertical molding around a room.

I learned after installing my baseboards, that there's a tool you can use to help figure out the corner angles. I really wish I had realized that, because y'all....I was fighting for my life with them corners, lol! But again...caulk.
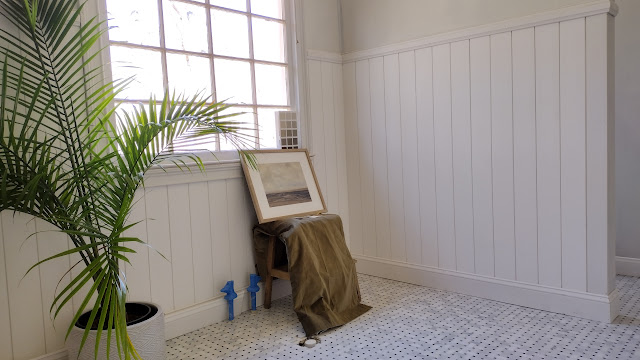
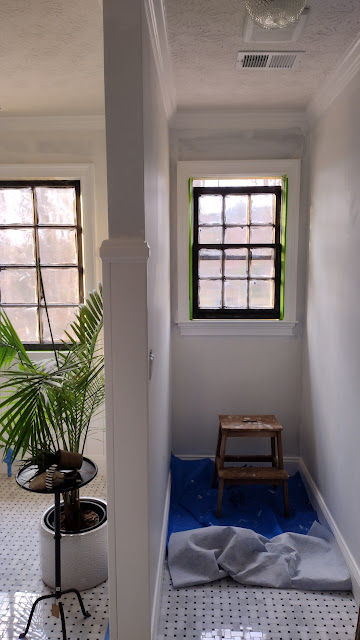
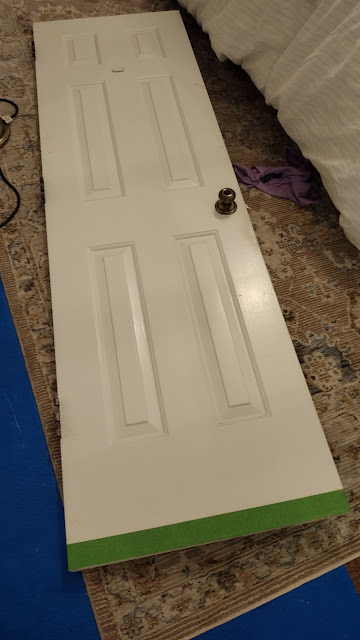
Next up was painting the paneling and trim, the windows, and the doors. My go-to now is always masking liquid to paint the windows.


Becuase the floor had been raised up, the doors didn't fit. So I finally bit the bullet and decided to try and cut them down. After taping for a clean cut, and marking out the line, I used my circular saw to cut them down. It took a few passes to get the fit right, but it worked!


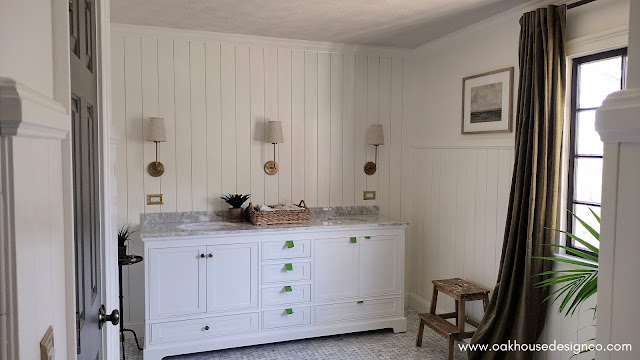
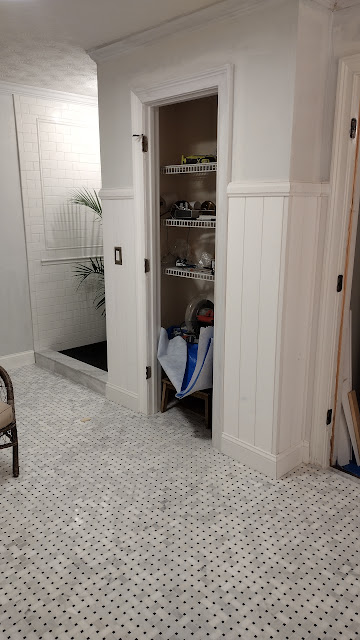
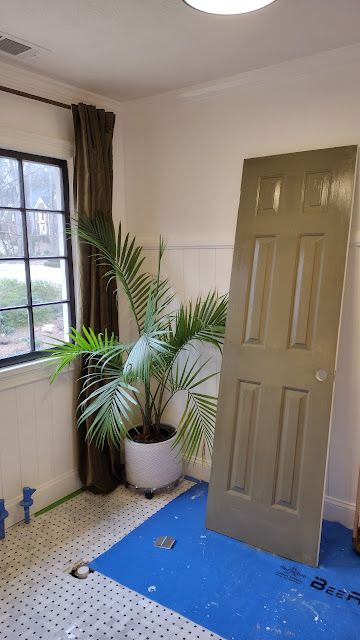
And here was the space before the plumbers came back to install all the plumbing fixtures and tub.

We lugged this beast of a vanity upstairs, then I cut out for the plumbing and screwed it into the studs. Then we attached the top and backsplash with silicone. When the plumbers came, they said, "Oh, we would have installed that." Had I known!!!

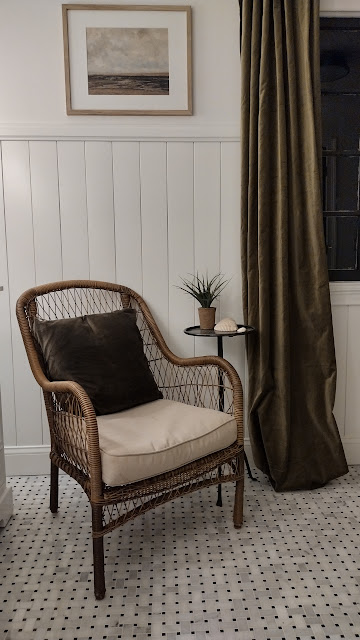
But I was so happy to have this space come this far, that most nights you could find me sitting in this chair admiring the transformation that had taken place.


Ok, next up will be the finished space, and I can't wait to show you!